Do you own a youtube channel? if yes and you want to show your youtube videos list or grid in your blog then you have found a helpful post. This post will show you how to add youtube channel feed in your blog or site it will show all the videos from your channel and you can customize everything like title, video size, number of videos to be shown etc and your site's speed will also not decrease, no matter how many videos you are going to show from your youtube channel.
To show your youtube videos feed on your blog or site you will need to use a plugin that allows you to show youtube videos on your site. Its absolutely free and easy to use. So in this post I am going to show you how to add youtube videos in blogger site.
Want to see a live demo? Check Out My Youtube Channel Feed Here
Similar Posts: How To Install "Get Site Control" Widgets In Blogger
How To Add Youtube Channel Feed In Blogger?
Step 1: Go to https://www.powr.io and create account.Step 2: Confirm your account from Email and login to it.
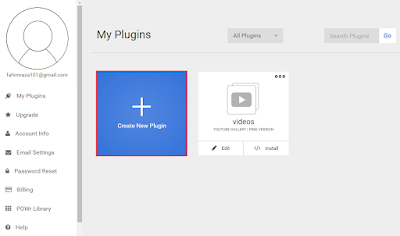
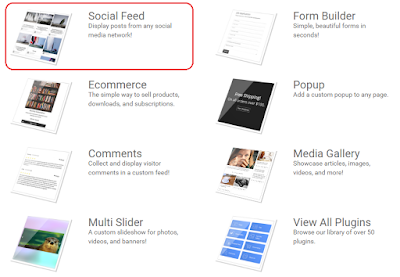
Step 3: Click on Create New Plugin.
Step 4: Choose Social Feed from the pop-up menu shown on the page.
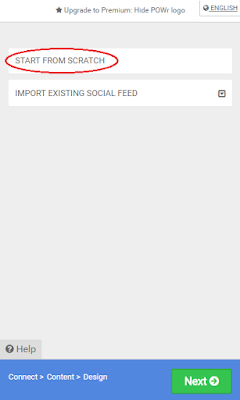
Step 5: Click on START FROM SCRATCH in the menu on right side.
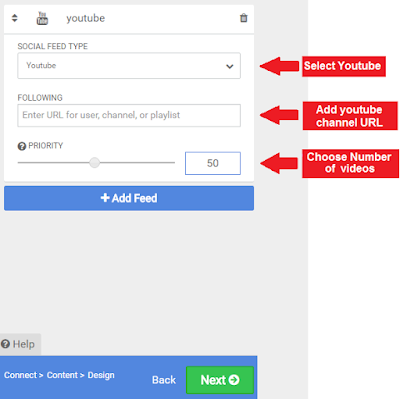
Step 6: Select Youtube as SOCIAL FEED TYPE and enter your youtube channel's URL or username in the FOLLOWING tab, select how many videos you want to get from your feed and finally click on Next.
- You can see a preview of your channel's feed on the page.
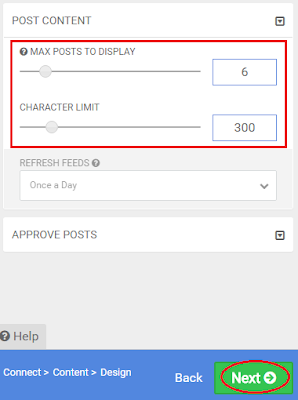
Step 7: In this step choose how many videos you want to display from your youtube feed and number of characters in title and click on Next.
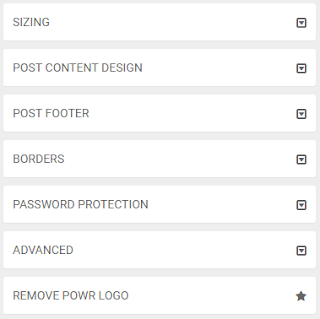
Step 8: Its the customization step, here you have follow things to be customized:
1. Sizing.
2. Post content design.
3. Post footer.
4. Borders.
5. Password protection. Upgrade required!
6. Advanced Upgrade required!
I am not going into all this because it is not difficult to customize your videos look because you have a live preview on your right hand on the page. Though if you find any difficulty, leave a comment below I will get back to you as soon as possible.
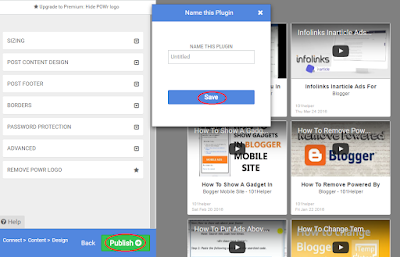
Step 9: Finally click on Publish and give your plugin a title and save it!
Step 10: Its time to implement the gadget you just created so copy the code of your plugin from Powr.io page as shown in below image.
Step 11: Go to blogger dashboard and navigate to Layout.
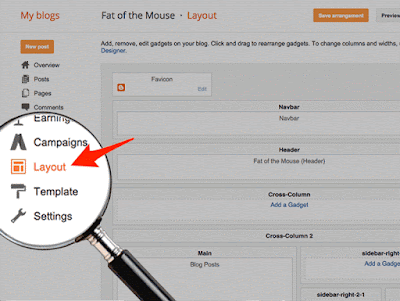 |
| Copyright. Powr.io |
Step 12: Click on Add a Gadget > Html/Javascript and paste your code.
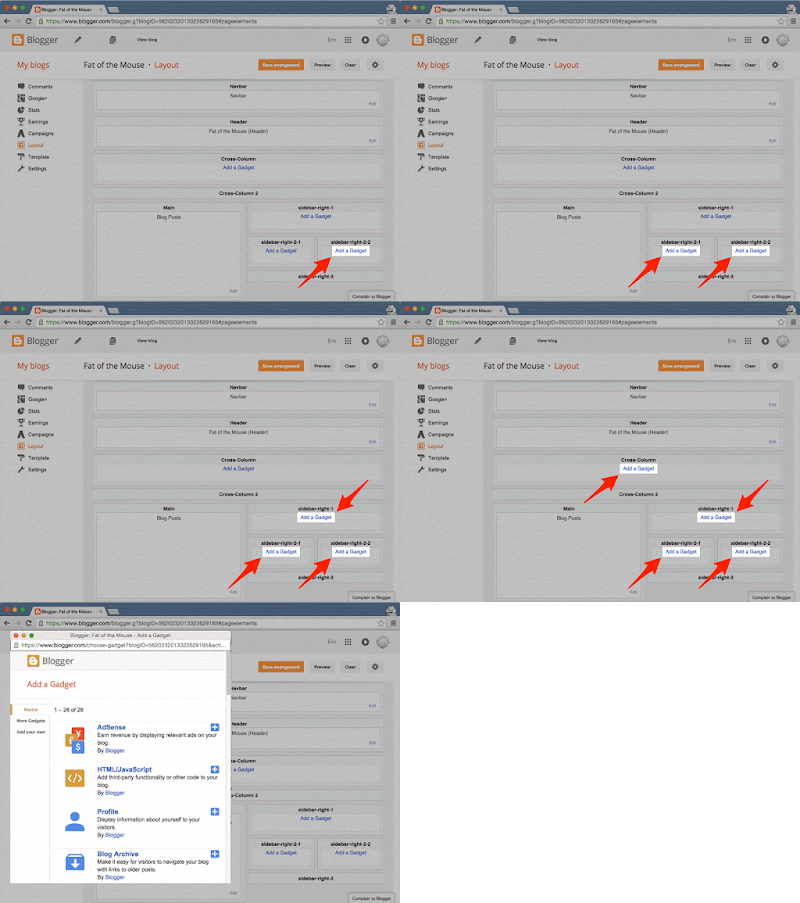 |
| Copyright. Powr.io |
You can customize your gadget any time by logging in to your Powr.io account. You can use Powr.io for many other purposes like showing feed from instragram, facebook, twitter etc and there are number of gadgets you can activate for your blog or site.
Check out what else can you get from Powr.io here
I hope this post is helpful to you. Information in this post is rarely available on internet so kindly share this with others. Thanks for visiting 101Helper.

Comments
Post a Comment